The Rival Ice Cream Maker is a convenient and versatile appliance for crafting homemade ice cream․ With a 2-quart capacity, it offers easy customization for unique flavors․
1․1 Overview of the Rival Ice Cream Maker
The Rival Ice Cream Maker is a user-friendly appliance designed to create delicious homemade ice cream․ Models like the Rival 8405 and GC8101 offer capacities up to 2 quarts, allowing for customizable flavors․ With easy-to-follow instructions, users can mix, churn, and freeze their creations effortlessly․ Its compact design and durable construction make it a reliable choice for both novices and experienced ice cream enthusiasts, ensuring consistent results every time․
1․2 Importance of Following Instructions
Adhering to the Rival Ice Cream Maker’s instructions ensures safety and optimal performance․ Proper usage prevents electrical hazards and damage to the appliance․ Following guidelines like pre-chilling the canister and not overfilling guarantees smooth operation and desired results․ Skipping steps may lead to inconsistent textures or machine malfunction․ Always read the manual thoroughly before use to achieve the best ice cream quality and maintain the longevity of your Rival Ice Cream Maker․
Understanding the Components of the Rival Ice Cream Maker
The Rival Ice Cream Maker includes a durable canister, dasher, and lid․ Additional components like a handle and manual drive ensure efficient churning for perfect results․
2․1 Key Parts and Their Functions
The Rival Ice Cream Maker features essential components designed for optimal performance․ The canister holds the mixture, while the dasher churns and aerates it․ The lid ensures a tight seal during operation, preventing leaks․ A crank handle is available for manual use, offering control over the churning process․ Each part works together seamlessly to produce smooth, creamy ice cream efficiently․ Proper assembly and understanding of these parts are crucial for achieving desired results․
2․2 Assembly and Disassembly Guide
Assembling the Rival Ice Cream Maker involves attaching the canister to the base, ensuring a secure lock․ Insert the dasher into the canister, aligning it properly․ Place the lid firmly to avoid leaks․ The crank handle, if manual, fits into its designated slot․ Disassembly is straightforward: remove the lid, pull out the dasher, and detach the canister from the base․ Ensure all parts are clean and dry before reassembling or storing․ Proper assembly is crucial for smooth operation and safety․
Preparing for Ice Cream Making
Chill the canister, mix your base, and ensure all parts are clean․ Prepare ingredients and flavorings beforehand for a smooth process․ Proper preparation ensures quality results․
3․1 Chilling the Ice Cream Canister
Chill the Rival ice cream canister in the freezer for 6-8 hours before use․ This ensures the mixture freezes evenly during churning․ Proper chilling is crucial for texture and consistency, helping to prevent ice crystals and achieve a smooth result․ Always place the canister flat to maintain balance and avoid leaks․ Once chilled, carefully remove and pour in the prepared ice cream base up to the recommended 3/4 full level for optimal churning efficiency․
3․2 Mixing the Ice Cream Base
Mixing the ice cream base is a crucial step for achieving the perfect flavor․ Combine cream, milk, sugar, and any desired flavorings in a bowl․ Whip until the sugar dissolves fully․ For added richness, you can incorporate ingredients like vanilla extract or cocoa powder․ Ensure all mix-ins like fruits or nuts are prepared․ Chill the mixture in the fridge for at least 2 hours before pouring into the pre-chilled canister․ This step ensures a smooth and consistent churning process later․
Operating the Rival Ice Cream Maker
Operating the Rival Ice Cream Maker involves pouring the chilled mixture into the canister, turning it on, and allowing it to churn until the desired consistency is reached․
4․1 Adding the Mixture to the Canister
Pour the chilled ice cream mixture into the pre-cooled canister, ensuring it is filled to about 3/4 of its capacity․ Securely insert the dasher, making sure it is properly aligned․ Avoid overfilling, as this can interfere with the churning process․ Once the mixture is added, close the lid tightly to prevent air leaks․ This step ensures the mixture churns evenly, leading to a smooth and creamy texture in the final ice cream․
4․2 Churning Process and Time
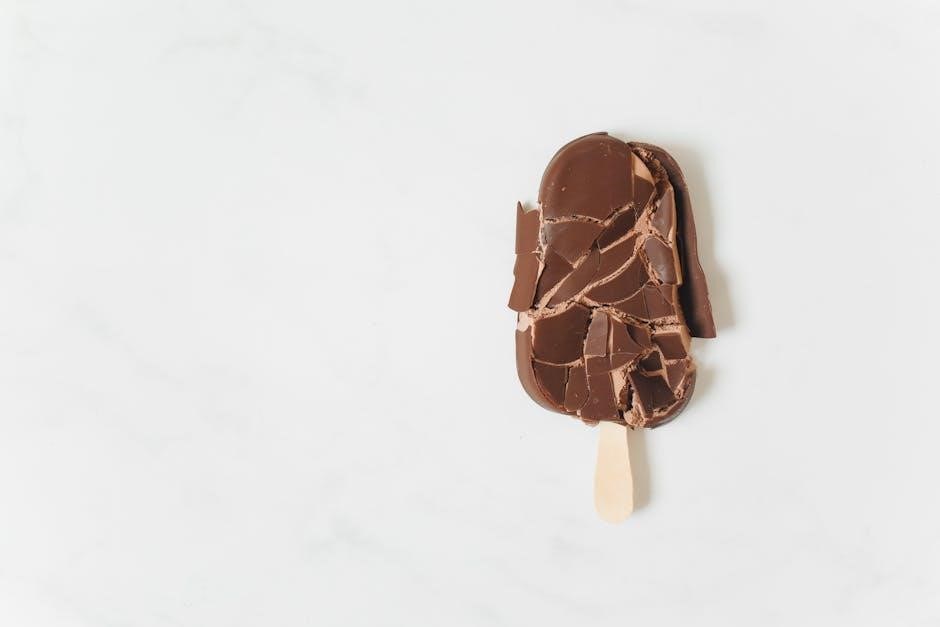
The churning process typically takes 20-40 minutes, depending on the mixture’s consistency and the model․ Ensure the canister is securely in place and start the machine․ Monitor the progress, as over-churning can lead to an overly dense texture․ For manual models, consistent cranking is required․ Stop once the desired consistency is achieved, usually when the mixture thickens to a soft-serve texture․ Proper timing ensures a smooth and creamy final product․
4․3 Adding Mix-Ins and Flavorings
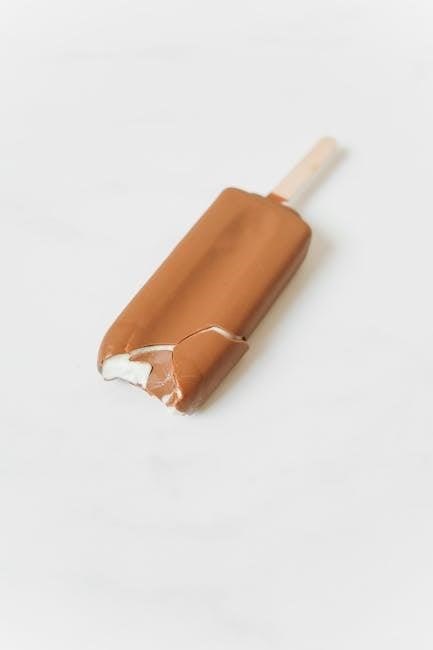
Add mix-ins like candies, nuts, or fruit during the last 2-3 minutes of churning․ This ensures even distribution without breaking the mix-ins․ For flavorings, incorporate them into the base before churning or add during the final stages․ Fold in fresh fruits or sauces gently after churning to maintain texture․ This step allows for endless customization, making each batch uniquely delicious and tailored to your preferences․
Safety Precautions
Read all instructions carefully to avoid accidents․ Never immerse the appliance in water or operate it near open flames․ Keep children away while in use․
5․1 Electrical Safety Guidelines
To ensure safe operation, always follow electrical safety guidelines․ Avoid immersing the appliance, cord, or plug in water․ Never operate near open flames or sparks․ Use the device on a stable, dry surface․ Avoid using damaged cords or plugs, as this can lead to electrical shock․ Keep the appliance away from children and pets․ Always unplug when not in use or before cleaning․ Adhere to these precautions to maintain safety and prevent accidents during operation․
5․2 Handling Hot or Cold Parts
When handling hot or cold parts of the Rival Ice Cream Maker, exercise caution to avoid burns or discomfort․ Always use oven mitts or a towel to grip the canister, especially after churning, as it may be extremely cold․ Avoid direct contact with frozen surfaces to prevent skin irritation․ Ensure the appliance is placed on a stable, heat-resistant surface․ Never leave hot or cold components unattended, especially near children․ Proper handling ensures safe and efficient operation of the ice cream maker․
Tips for Perfect Ice Cream
Chill the mixture thoroughly before churning for a smoother texture․ Use high-quality ingredients for richer flavors․ Avoid overfilling the canister to ensure even freezing and consistency․
6․1 Achieving the Right Consistency
Achieving the right consistency in ice cream requires careful chilling and churning․ Ensure the mixture is fully chilled before pouring it into the canister․ Fill the canister to about 3/4 of its capacity to allow expansion․ Churn until the mixture thickens, typically between 20 to 30 minutes, depending on the model․ Over-churning can lead to an icy texture, while under-churning results in a too-soft consistency․ Monitor the process closely for optimal results․
6․2 Customizing Flavors
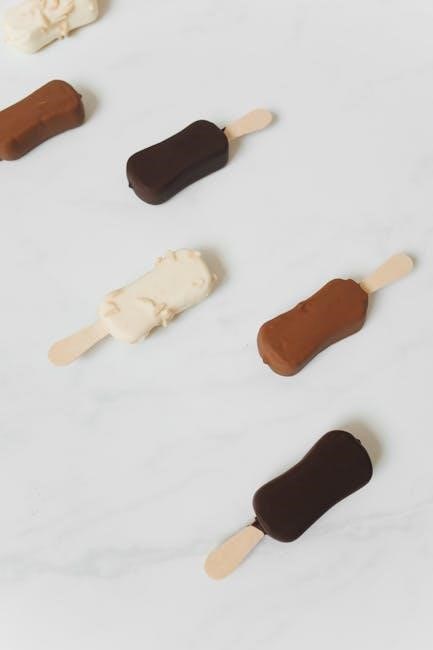
Customizing flavors in your Rival Ice Cream Maker is effortless․ Start with a classic base like vanilla or chocolate, then add mix-ins such as fresh fruits, nuts, or candy pieces during the churning process․ For unique twists, incorporate extracts like mint or almond, or blend in cocoa powder for a richer taste․ Experiment with layers by adding ingredients like caramel or swirls of fruit sauce midway through churning․ This versatility allows you to craft endless flavor combinations to suit any preference or dietary need․
Troubleshooting Common Issues
Common issues include the machine not churning, ice cream being too soft, or the motor overheating․ Check the freeze setting, mixture consistency, and ensure proper assembly before use․
7․1 Ice Cream Too Soft or Hard
If the ice cream is too soft, ensure the canister is fully chilled․ If too hard, check the mixture ratio and churning time․ Adjusting the freezer bowl temperature may help achieve the perfect consistency․ Always refer to the manual for specific temperature and timing guidelines to ensure optimal results with your Rival ice cream maker․
7․2 Machine Not Churning Properly
If the machine isn’t churning, check if the canister is properly assembled․ Ensure the dasher is securely inserted and aligned․ Verify the motor is functioning and the mixture isn’t overfilled․ Refer to the manual for assembly and usage guidelines․ If issues persist, consult troubleshooting sections or contact customer support for assistance to resolve the problem effectively and maintain optimal performance of your Rival ice cream maker․

Maintenance and Storage
Regularly clean the machine with mild soap and dry thoroughly․ Store in a cool, dry place to prevent rust․ Avoid harsh chemicals for longevity;
8․1 Cleaning the Ice Cream Maker
After each use, wash the canister, lid, and dasher with mild soap and warm water․ Rinse thoroughly and dry to prevent rust or bacteria growth․ For tough residue, soak parts in warm soapy water before scrubbing․ Avoid using abrasive cleaners or scourers, as they may damage surfaces․ Regular cleaning ensures optimal performance and hygiene․ Always dry the appliance completely before storing it to maintain its condition and longevity․
8․2 Storing the Appliance
Store the Rival Ice Cream Maker in a cool, dry place to ensure longevity․ After cleaning, dry all parts thoroughly to prevent moisture buildup․ Place the canister, lid, and dasher in a protective cover or bag to avoid dust accumulation․ Keep the appliance away from direct sunlight and heat sources․ Proper storage maintains its performance and prevents damage, ensuring it remains ready for future use․
Popular Ice Cream Recipes
Explore a variety of delicious recipes, from classic vanilla to unique strawberry cheesecake․ These easy-to-follow recipes are perfect for creating customizable flavors with your Rival Ice Cream Maker․
9․1 Classic Vanilla Ice Cream
Make timeless classic vanilla ice cream with just a few ingredients․ Combine 2 cups heavy cream, 1 cup whole milk, 1/4 cup granulated sugar, and 1 tsp vanilla extract․ Mix well, chill, and pour into the Rival Ice Cream Maker․ Churn according to instructions for a creamy texture․ This simple recipe is a perfect base for custom flavors, offering a smooth and delicious foundation for your homemade ice cream creations․
9․2 Strawberry Cheesecake Ice Cream
Indulge in a creamy strawberry cheesecake ice cream by blending 2 cups heavy cream, 1 cup whole milk, 1/2 cup sugar, 1 tsp vanilla, and 1/4 cup strawberry puree․ Chill the mixture, then churn in the Rival Ice Cream Maker․ During the last 2 minutes, add diced strawberries and crumbled cheesecake bits for a fruity, textured treat․ This unique flavor combines the sweetness of strawberries with the richness of cheesecake, creating a deliciously refreshing dessert․
Comparing Rival Models
Rival offers various ice cream maker models, such as the GC8101 and GC8151, differing in capacity, features, and design․ The GC8101 is a 1-quart model, while the GC8151 is a 2-quart version with advanced chilling․ Both are highly rated for performance and ease of use, catering to different user preferences and needs for homemade ice cream creation․
10․1 Differences Between Rival Ice Cream Maker Models
Rival ice cream maker models vary in capacity, features, and design․ The GC8101 is a 1-quart gel canister model, ideal for smaller batches, while the GC8151 offers a 2-quart capacity with advanced chilling technology․ The 2-quart models generally have higher ratings for efficiency and performance․ Other models, like the 8405, include electric operation for convenience․ Each model caters to different needs, whether you prefer manual or automatic churning, ensuring a wide range of options for homemade ice cream enthusiasts․